TENKARA PATH WEBSITE / BLOG
HOME PAGE
PRODUCT MAINTENACE
TENKARA AS PRACTICE
PATH NOTES
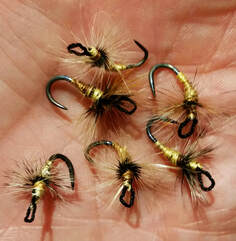
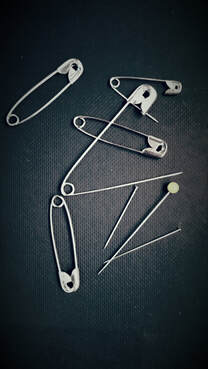
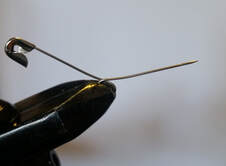
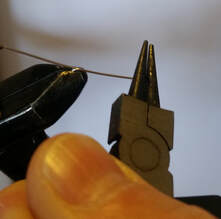
TIE THIS!
CONTACT
ABOUT ME
HOME PAGE
PRODUCT MAINTENACE
TENKARA AS PRACTICE
PATH NOTES
TIE THIS!
CONTACT
ABOUT ME